Pages

Saturday, July 9, 2011

Class T-Shirt Design Idea

Today I sat down in the office to do some curriculum writing, and ended up
designing my class t-shirt  for this year.  I get side tracked easily, and besides, I'm super excited about this coming up year.
Next school year I will be teaching one class Reading, Writing and Social Studies, and for the second half of the day I will be coaching - teachers, not PE, as my brother-in-law thought. :)
I am so excited about this, because this is the direction I have always wanted to go with my career ever since i got my Masters in Reading!  I would really love to be doing it full time, but it is nice to still be in the classroom - I think I'd miss it.
Many schools have two PFs(Peer Facilitators) - A Reading Coach and a Math Coach.  My school only has one, so in order for both coaching duties to be filled, my sweet friend and PF, Erica and I will be sharing duties.  She will be teaching the Math class while I'm coaching, and I'll be teaching Language Arts while she is coaching.  I am so excited about this opportunity!!  Erica is awesome, and I know we will work well together.
I began to think as we were planning for next year - My class will no longer be "Mrs. Ramirez's Rockets", They have two teachers now - two homeroom teachers.  Hmmm...Erica's class used to be "Mrs. Moreno's Monkeys" so merge the two together - I thought:


Ramirez and Moreno's Rowdy Monkeys?


Ramirez and Moreno's Reading Monkeys?


Why not use both of our Mascots?  Ramirez and Moreno's Rocketing Monkeys!

I began to google images of Monkeys on a Rocket, thinking it would be a hopeless cause...Who creates pictures of monkeys on Rockets??
Well Apparently This Lady does.  Lots of them.


 She must have a thing for monkeys.  Her blog is full of monkeys - on cars, rockets, scooters, etc.  And sooo cute!  Rather than using her image though, I put a piece of paper up to my laptop screen and traced it. That way I could add my own colors and design.
I also printed out our names in a cute font that I got from www. flamingtext.com.  I love this site and use it a lot to find cute fonts for things in my classroom.  You just copy and paste it into your word document.  Here's the print:
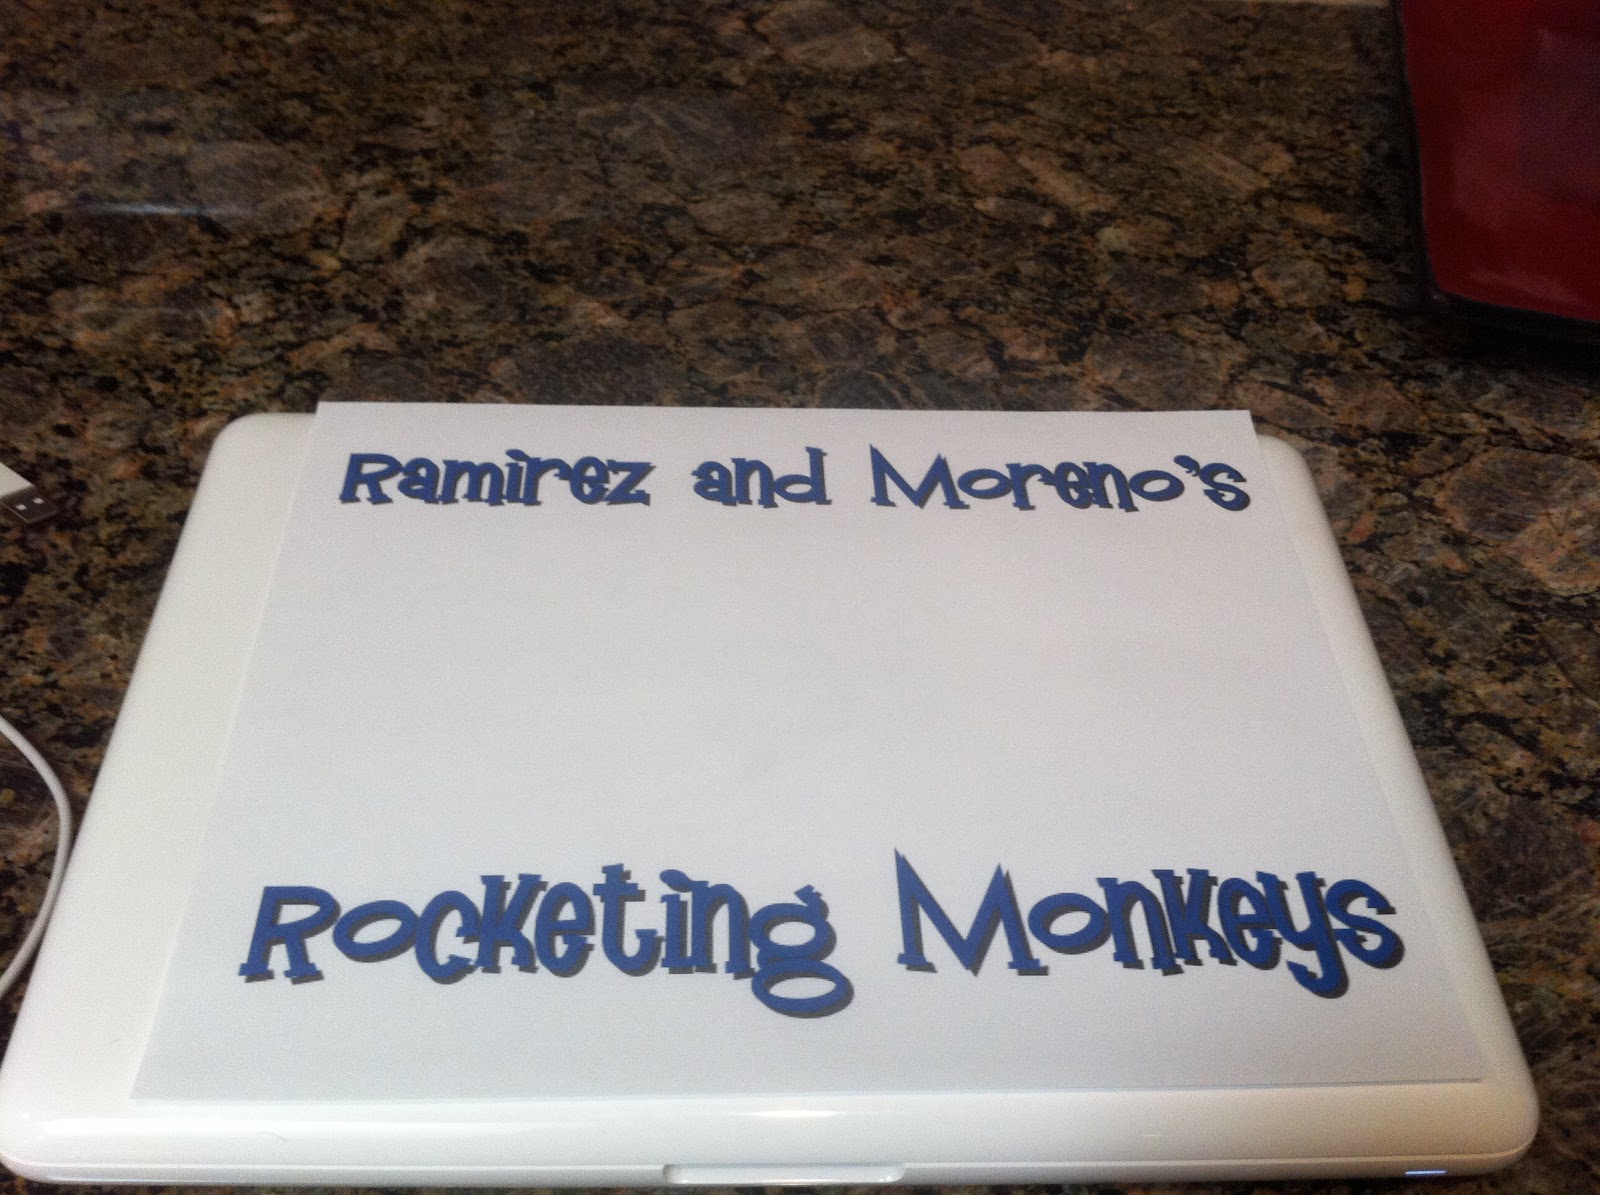

Then I traced the rocketing monkey into the background and colored it:


Isn't he cute??  So, I'll hafta check with Erica and see what she thinks about it, and then we can take it to the Printers!  Such fun combining mascots!  Hmm...what else could we do???

Thursday, July 7, 2011

My Prayer


Today, I'm posting about one of my favorite hymns I grew up singing in church and with my family when we would get together to sing.
This song is engrained in my head, thankfully.  Whenever there is a situation in my life or anyone's life for that matter, this song comes to mind.  If you just read it, it is the best prayer you can pray in times of struggle.  I started really reciting it to myself when my Mimi died.  I think I've posted before, but I had the hardest time dealing with that.  I quit praying for a while.  I figured, what's the point.  Thankfully I have parents who took a lot of my Mimi's wisdom, and reminded me over and over that God does things for a reason, and sometimes his answer to a prayer is "No".  I still struggle with losing Mimi, but I have realized that good things have come out of her death.
 I still find myself praying these words whenever I feel myself getting worked up over things out of my control.  I try not to, but I have turned a bit into a worrier - I guess I get it from my mom, although I always tell her to chill out.  She'll go wothout sleep worrying.  She has more to feel like she needs to worry about though I guess - My brother and his family, me, my sister and her boyfriend, her home, her health, my dad's health....  
Oh Boy!  I better recite this daily or I'll be up all night worrying when I have kids too!  Right now I worry about Eric  alot.  I worry if he's not happy and I feel like it's my job to make sure he is.  I worry about him getting his CPA.  I worry about Brinkley - ever since our little scare with him, I am always worried about letting him go outside alone, and always check for bites!  I constantly worry about my hair falling out - most know, but if not, I have alopecia, so my hair falls out in round clumps.  I worry about money a lot, and whether we will have things paid off by the time we are ready for kids.
I worry about doing my best in my job.  I worry about each and every one of my students, and whether I'm giving them what they need.  I worry so much about sweet friends who have been affected with cancer.  I have to remind myself of where I was when Mimi passed away and refuse to let Satan affect my prayers for them.  I now worry about my sweet sister in law far away in New Jersey, and her husband who is in the air force. I worry about my own brother and sister, and just want happiness for them. I worry about my family too, being so far away.  Why can't I have them all at arms reach to be sure they're ok?  But then, I'm sure that's exactly how Mom feels.  Boy, she's strong to be able to 
Let Go and Let God.  
 Well here's my prayer, and hopefully it will be of help to you too.  Memorize it, and recite it when you feel yourself trying to take the reins.
God is in Control.


Prince of peace, control my will;
Bid this struggling heart be still:
Bid my fears and doubtings cease:
Hush my spirit into peace. 
Thou hast bought me with Thy blood,
Opened wide the gate to god;
Peace I ask, but peace must be,
Lord, in being one with Thee. 
May Thy will, not mine be done;
May Thy will and mine be one;
Chase these doubtings from my heart,
Now Thy perfect peace impart. 
Savior, at Thy feet I fall,
Thou, my life, my God, my all;
Let Thy happy servant be
One forevermore with Thee. 

Wednesday, July 6, 2011

First projects in the new home - Earring Holder Frame

I've always needed somehting to hold all my Earrings so I'm not searching through them all every morning, but I really didn't want OR have room for a big ole jewelry box, so for a while, my earrings sat in a brighton box hiding behind a frame on my vanity.  I thought I'd hafta live with that - until I saw this at little big nest.


PERFECT!  I had to do it, but I wanted to wait until I found a good deal on a frame, and a cute one at that.  The wonderful thing is that Hobby Lobby puts everything in their store on Half Off at some point in time, and at this particular time, that had a whole aisle of frames they had marked down AND put on half off!  I got my gorgeous silver frame for $5!
Next was to find the chicken wire.  Little Big Nest got her's left over from her brother.  I have no such resources, and I looked at Ace Hardware, and would've had to buy a whole roll! NO THANKYOU.   Hobby Lobby saved me again.  They had wire mesh in their art section for $5.  
To make this, I used a staple gun and stapled the wire mesh to the back of the frame.  I like it without the fabric, so I was ready to hang it!  However, when I hung it, I realized that with the wire flesh to the back of the frame, the earrings had nowhere to go.  I was gonna rip it all off and start over, but my Dad had the idea to staple cardboard to the back.  It worked!
The other problem I had was that the holes in the wire mesh are too small for earring backs to go through, but my mom solved that problem for me.  I'll still use my brighton can, but now it will hold earring backs and stud earrings. 
So here it my finished product:


First projects in the new home - Tufted Headboard

After tackling the Living Room, we moved on to crafting a tufted headboard for my Guest Bedroom.  I've been wanting to do this for a while ever since I saw it on centsational girl's site.  This is really easy, and not at all pricey.  Here's our list of materials:

1 sheet of 1/2" plywood - Our's cost $17.00, and they cut it for free at Home Depot.
1-2" foam, cut to size - Bought at Hobby Lobby for $17.00
spray adhesive - Hobby Lobby - $5.00
batting - Hobby Lobby - $10.00
staple gun - You can buy them cheap, but I borrowed my Father-in-Law's until I get my own.
Darning Needle and Thread - Darning needles are just longer and easier to thread.
Button making kit - Hobby Lobby - $5.00
Drill with drill bits
D-Ring picture holders

I do regret that I didn't take step by step pictures, but if you want to know how to do it, go to centsational girl's site - but beware!  You'll get carried away!

Here's how we did it:

1. We laid out the board and measured and drilled holes for the buttons using a drill and drill bit - I don't remember what size.
2. Laid the foam  on top and cut it to size.
3. Sprayed the board with spray adhesive and applied the foam.
4. Rolled the batting  out on the floor and wrapped it around the board.  We stapled the middle sections first, making sure to pull tight.
5. Rolled the fabric over the batting and stapled to the back, middle sections first, pulled tight.


6. Made the buttons using the left over fabric.  Follow directions on the button kit.
7. Stuck needle and thread through the holes in the back, and through the button.  Pulled tight until button pulled into the foam.  Tied knots in the string, and stapled at the knot, and then pulled the string in the opposite direction, and knotting and stapling again.


8. Screw in the D-Ring Picture hangers, and hung it on the wall!


I love the way it looks, and it brings in the same ticking fabric in my quilt on the bed - that my mom made! It's coming together!

First projects in the new home - The Living Room

I've been so excited for weeks and weeks to put our first touches on our new house.  Since we decided on colors and ordered the fabric for the curtains, it was time to tackle the paint color.  When I did my design board, I thought I knew that I wanted a pale blue on the walls, it's a lot different when you actually see it ON the walls though.
We went with Home Depot for our Behr Paint.  They sell the little sample for like 2 bucks, so we got four colors to try.


The color Eric's working on there is the one I thought I wanted - the pale blue.  Only it looked more like white.  So we tried the next darker one we picked and Eric painted over the light color, but it still looked white, and I didn't want the dark colors, so we went back to Home Depot and got the next color - to the right of the big white strip.


I really thought that would be it, but the more we contemplated it, the more we decided it was still too light, and ended up going with the darkest of the five - go figure.  
We were waiting for my parents to come to paint, so while waiting, I redesigned my shelves.  I had been reading other blogs and watching DIY shows and kept seeing people decorating shelves with books without their jackets.  I have a TON of books with jackets, and never bothered to check to see the colors, when I did, I ended up taking ALL the jackets off of my books!  I had quite a few blues, reds, and grays, and they look so good on a shelf!  Here are a few of my favorites from the living room:


I also bought this cute blue mirror on sale at Target for like $5!  I also bought the three frames in the background for cheap.  You'll see how I used them.  Brinkley wanted to show how he matches with the theme as well. :)


Before painting the entire room, I really wanted to paint the fireplace white.  I always hated how it blended into the wall - I don't know what those builders were thinking.
Here's the before:

And here's the after:


Ahhh, So much better!   Now it was time to PAINT!!  Mom and Dad came in for the fourth of July weekend and helped us out.  We got the whole room done in about two hours.  The boys painted, and mom and I sewed the curtains.  We also spray painted my vintage dresser mirror and the three white frames red.  It was a lot of fun, and here is the finished product:


I love this mirror!

I used fabric from the curtains and pillows in the frames.

Next up for this room:  
1. Hang the TV on the wall.  It bothers me how there's so much empty space above it.
2. Build a cubby storage bench to add extra seating below the three red frames.


Monday, June 20, 2011

It is now two weeks into the summer of my third year of teaching, and and I'm filling each day with curriculum writing.  The good thing is I get to work from home, in my PJs, and I get paid for it! WooHoo!
But in my down time, when I just need a break, I've been searcing the internet for design elements and making design boards  for each room in our house - Eric's so excited (all he sees when he looks at them are dollar signs).  I promised him I'd pace myself, and that this summer, I really wanted to get the living room and our bedroom done.  After lots of pleading, he gave in, and I began the search for the living room of my dreams - at a quarter of the price.
As I was searching, I decided that I needed two romantic bedside lamps for the bedroom first.
I found this at target for cheap:

I love it.  Eventually I want to get candlesticks that match.
For the living room, I decided I just didn't like the style we had.  These are the pictures we based our design around before:
We had a rug that matched and for a while I thought I'd take the green out of it and use that in the room, but I felt like I was settling.  It's too artsie fartsie for my style.  So I went on a search for curtain fabric at fabric.com, and decided to design the room around them.
This is a case in which the third try's a charm.  I found one I really thought I liked and designed a whole room around it, and when Eric saw it, he told me it looked like a kids room fabric.  I just liked the bright colors, but as I looked at it more, I realized he was right on the Richloom Cornwall Cadmium:

So, back to square one.  I knew I wanted red in the room since it's open to my red kitchen, but 
I LOVE blue rooms!   I went on a search for something that would coordinate with my kitchen, and found this Suzani Autumn/Natural.  I liked the pattern and decided it would work.


Eric really liked it, and I did too, but I felt like I was settling again, I still wanted blue, but wasn't sure if it would look good with red.  So I went on a search for red and blue rooms and found this:


I. LOVED. IT.  I began to search fabric.com for blue fabric, and finally found the one that speaks to me!
Dwell Studio Bella Porte Twilight:


With these fabrics for pillows:


Some Red Frames with fabric artwork:


A round red mirror on the coffee table with light blue woodwick on top:


My antique dresser mirror on the mantle painted red...here's what it looks like now:


I think I'll use a pale blue paint color on the walls to finish it off!!


I love it, and I can't wait to put it all together!!  I'm so glad I didn't settle!

Friday, October 22, 2010

Victory!!

We paid off our Credit cards!! WOOOOO HOOOO!!  This living with the in-laws was so worth it!  It's incredible the burden that has been lifted off our shoulders.  Now we only have my car loan, and our student loans!!  AHHH, Relax.

We have recently discovered that our church will be sponsoring a Dave Ramsey seminar in the Spring.  I am so excited about it.  I am really anxious to learn how to make my money work work me instead of working for my money.

Eric has created an amazing budget on excel that projects how many months it will take to pay off things, and it's pretty cool...so glad I married an accountant!

Tuesday, August 24, 2010

A New Step

Eric and I have decided to do it.  We're moving in with Eric's parents.  The closer our lease renewal date gets, the more we are realizing that if we are wanting to get a house soon, we've got to make some radical changes, and that would include stopping throwing our money away  on rent every month.

We have begun practicing the snowball plan from Dave Ramsey, and have gotten a few things paid off.  It gave us some hope, and decided it would be so much more encouraging if we moved in with his parents.

So, here we go.  A new step in our lives.  We'll see where it takes us.

Saturday, August 14, 2010

A New favorite book

Recently I finished a book that I've had a while, but never really looked at to read.  It is The Season by Sarah MacLean.

I absolutely LOVED it and want to reread and reread it again and again.  I read it in two days, which should tell you something.  I have decided that Historical Fiction is a new favorite genre, especially when it involves a little romance, and maybe a little suspense too!  This book is set in the 1800's during the time of Napoleon, and happens to have a Jane Austen like romance story in it - Emma to be exact.  It also involves a murder plot.  A true page turner!  It is about three girls who grow up in very wealthy families of the times.  Alexandra (Alex), the main character is the daughter of a Duke, and as such, her mother plans for a very advantageous marriage.  She and her two best friends have recently turned seventeen, which means they will be "coming out".  I never realized what a "Season" was, but it seems like the time when all the new available girls come out to prance around eligible bachelors to try to catch a mate.  There a many balls that Alex and her friends are "forced" to attend.  They are not the typical girls of the time in that they have no interest in marriage.  They have a mind of their own.  They are smart, love to read - Jane Austen's books are actually mentioned by them.  They also love to discuss politics.  These are not admirable traits of the times.  Women are not supposed to have a mind of their own.  So in this story the three girls endure ball after ball and end up chasing a murder plot they happen to overhear.  The romance makes it all the better.  I have been watching Pride and Prejudice since and searching for other comparable books.

I think if it weren't for the whole women not having a mind of their own thing, I could so live in the 1800's in London.

Tuesday, August 3, 2010

Obnoxious Designer Bags

So there's this yahoo story today all about designer bags, and how all of the sudden it isn't fashionable to "appear superficial".  I'm just amazed that this is a "new" trend to dull down the GIANT logos on designer bags like the obnoxious C's on Coach bags, and the LVs on the Louis Vuitton bags.  I've always been a absolutely disgusted by these bags.  Eric always wants to buy me one just to get me something nice, and I threaten him that if he does, I will take it straight back.  I like a bag that is fashionable yet doesn't try to make a statement like "I've got money, that's why I have this bag".  In all honestly I would rather not have a designer bag to remove all doubt.  A bag should serve a purpose.  Not make a statement.
In reality I've noticed that people who actually have the money and the class chose a less obnoxious bag.  A lot of women I've seen carrying bag with giant logos just want people to think they have money.    Hopefully this article will do away with all of the obnoxious superficiality of large logo bags:

http://shine.yahoo.com/channel/beauty/are-designer-logos-shrinking-2177080/